Having bought a complete Dnepr gearbox as a spare, I decided that it was a good opportunity to break in and give it a once-over. I've never been into a Soviet gearbox before - to be honest, I'm a bit of a dunce at mechanical things, I just take my time and lots of photographs. Without the photos, I'd be utterly stuffed. A search around on the internet didn't bring up any how-to guides for the job, just manuals with pencil drawings, so I figured I'd take step by step pictures and share the results for any other poor lost soul that may one day have to nervously open up a box of cogs.
Rather than baffle the uninitiated with lengthy explanations and technical name-calling, I've kept it simple with the pictures. Taking it apart is simple enough, but a couple of things to watch out for on the rebuild are mentioned in text where I did it wrong and had to partial-strip to get back on track.
Without further ado...
ADDENDUM On a forum it has been pointed out that I made mistakes along the way. No shit, Sherlock. This is my photographs for my record, put out there in case they can be of use. If it doesn't help you, then that is a pity. I'm no engineer, this isn't meant to be a Haynes guide to doing the job, it's just some pictures. Use them, don't use them. Whatever.


I put the fork back on the shaft, with the castellated nut, so I could tap underneath to draw out the shaft. It brought the bearing with it, which was a stroke of luck.


That's the selector I'm talking about.

The next one can be jiggled into place


Rather than baffle the uninitiated with lengthy explanations and technical name-calling, I've kept it simple with the pictures. Taking it apart is simple enough, but a couple of things to watch out for on the rebuild are mentioned in text where I did it wrong and had to partial-strip to get back on track.
Without further ado...
ADDENDUM On a forum it has been pointed out that I made mistakes along the way. No shit, Sherlock. This is my photographs for my record, put out there in case they can be of use. If it doesn't help you, then that is a pity. I'm no engineer, this isn't meant to be a Haynes guide to doing the job, it's just some pictures. Use them, don't use them. Whatever.


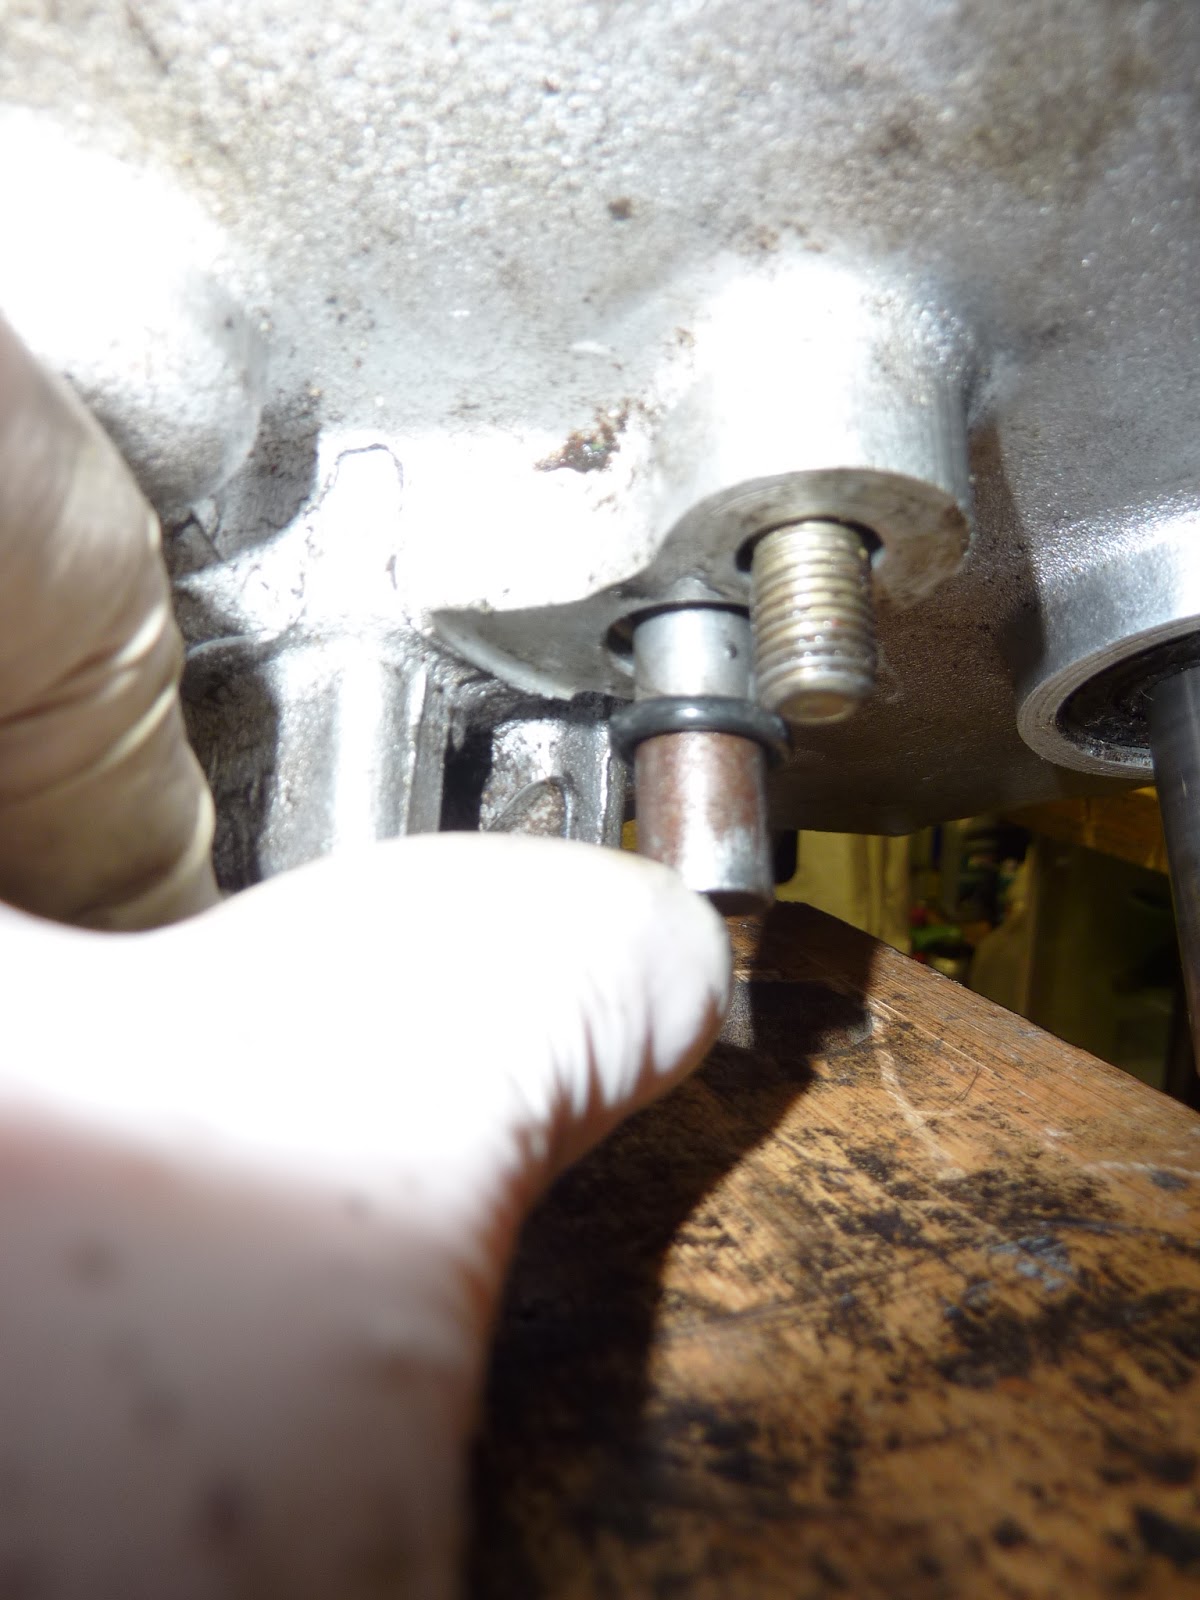


I put the fork back on the shaft, with the castellated nut, so I could tap underneath to draw out the shaft. It brought the bearing with it, which was a stroke of luck.


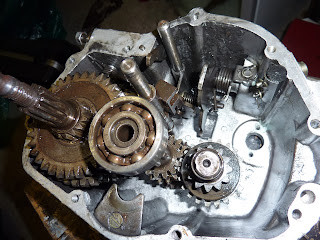
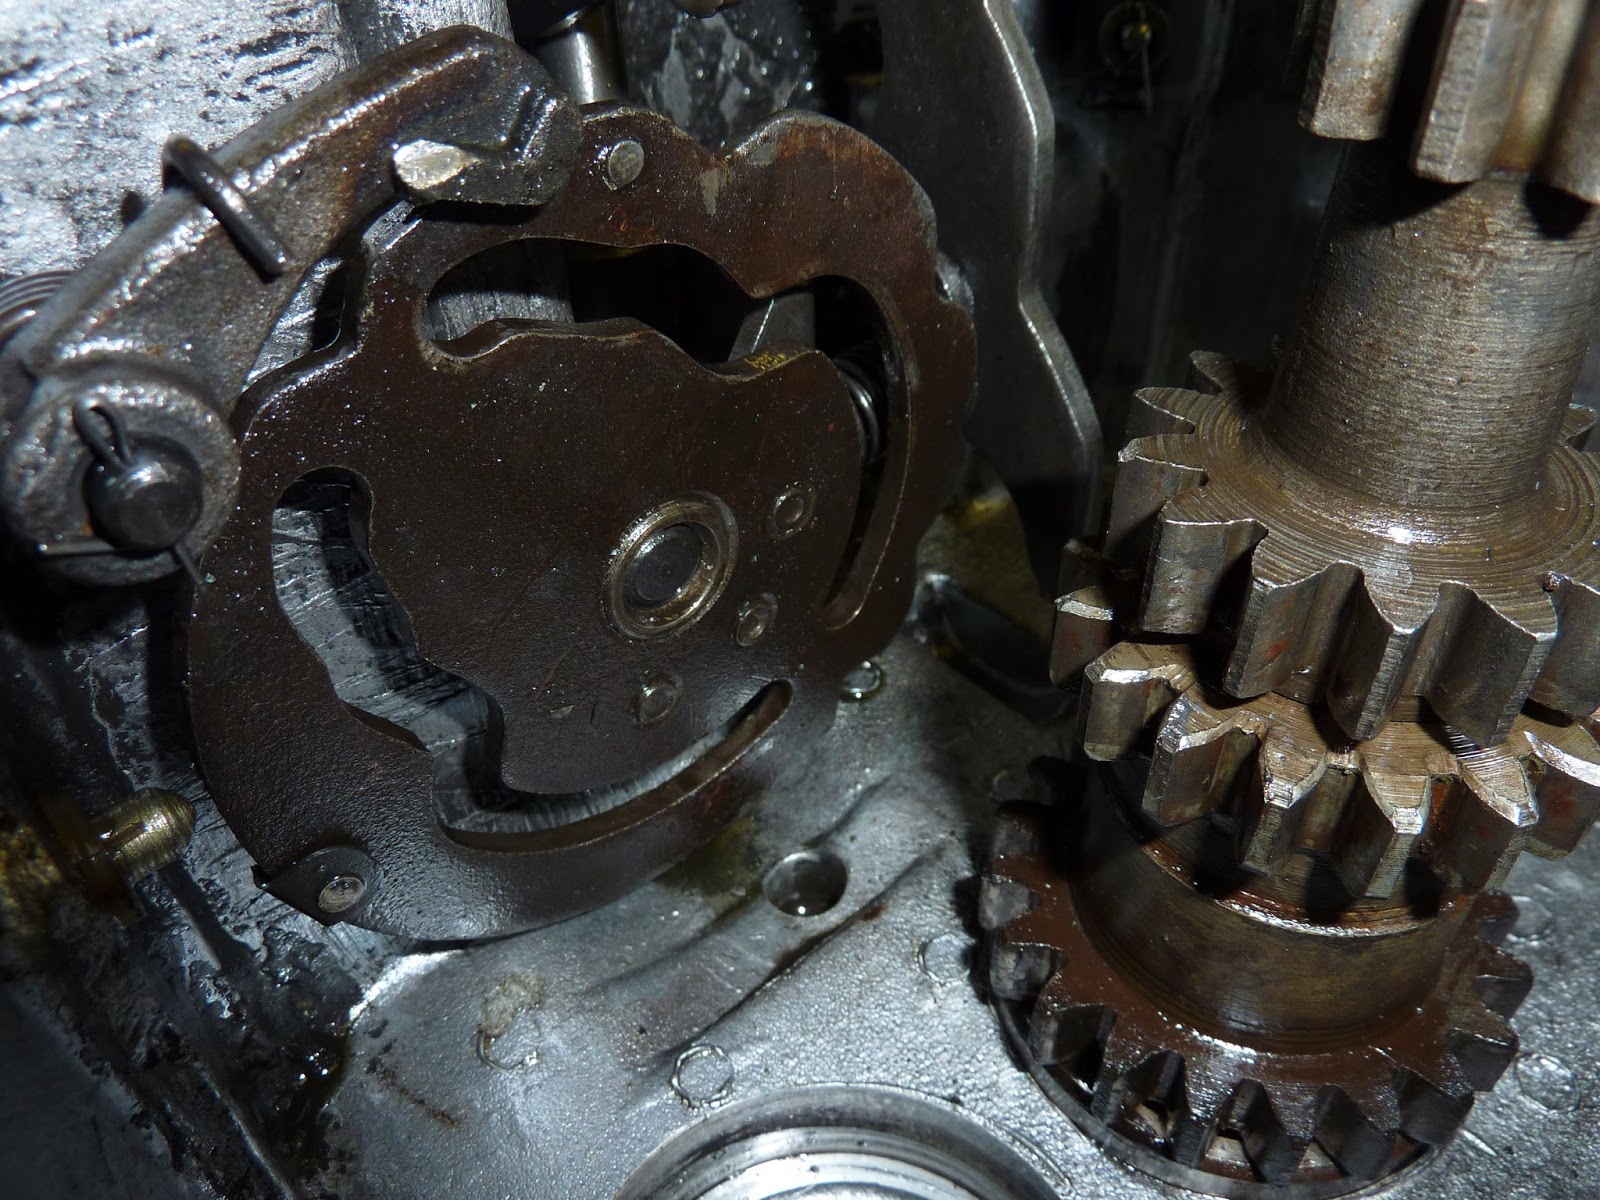
The main shaft you can see below, has a shim washer between the bearing on the right hand end and the gear next to it. Wear on this shim had caused it to splay inwards, so it wouldn't come off the shaft, which it needs to do so the gears can be removed from the shaft. A mate who works at BAe cut it off and made a new one out of the appropriate hard wearing material as I couldn't find a new one anywhere. You'll see a cut shim photo later on - that's the one from this shaft.


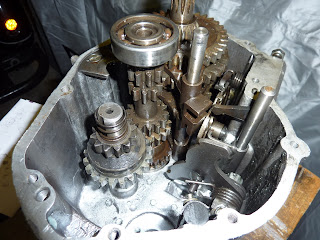
See the washer on the end of the spring centre picture? If this bit gets displaced, the washer falls to the bottom of the casing, and then you wonder where the hell it came from, and then thank your stars you took photographs.
Now you can see the wear on components within...


This spring comes from within the oil seal, in this instance it has been displaced


The spring back in the oil seal so you can see from where it came

worn


So I ordered some bits from Ural Zentrale to replace the worn bits


This is well worn, but still available as a part


this is badly worn on the left side


new Woodruff keys need filing down to fit

The cut shim I mentioned earlier

and its replacement
Ignore the order of the gears on this shaft - my mate put them back on in the wrong order. Phil Liston-Smith, you're a very funny guy, I know where you live, 'nuff said.
Eventually I noticed - but not yet.


and new bearings from Simply Bearings


I took the neutral switch and the black nylon cylinder off the casing so I could put it in the oven, with the shafts in the freezer. That way it all goes together much better.


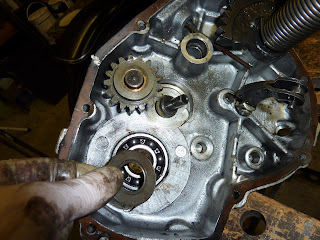
These went back in the casing fairly easily - especially now the gears on the mainshaft are in the right order. WARNING - put the lowest selector fork on its slider before you put these two shafts in the casing, as it won't go in after. Don't ask how I know....


That's the selector I'm talking about.

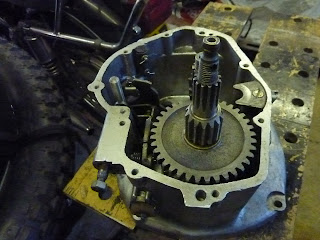
The next one can be jiggled into place


And that's about it for now, we're nearly there.


Don't know if it is the official best practice, but to pull the cases together, with all the various parts trying to mate up, I gently tapped all round until it felt like it wasn't making any more progress. This left me with a 4-5mm gap between the cases, so rather than hit it harder (never a good sign) I put the casing bolts back in to fingertight, then went round putting a quarter turn on each in a crisscross pattern. Nothing ever got too tight, and every now and again there would be a gentle little creak as bearings made their way home. Once together, a check that all the gears selected, and as we say, 'Bob's yer uncle'.

And under the bench it went.
Great. Hope I never have to do it but now I know how (1982 restoration, had it a year), Ignore the snide comments! I am 67, self taught, have tacled almost everything. Well done
ReplyDeleteThanks for this.
ReplyDeleteThank you for the effort, Im doing My trans and am using your photos...Well done sir!
ReplyDelete