So, the oil leak was getting gradually worse. From a couple of spots on the floor at each stop, it had deteriorated to a 6 inch puddle within 10 minutes of pulling up. Fortunately, this would stop within a short while, otherwise I'd be looking at an empty sump every day. As it was, oil replacement had reached 300ml per 100 miles, 99% of which was on the floor.

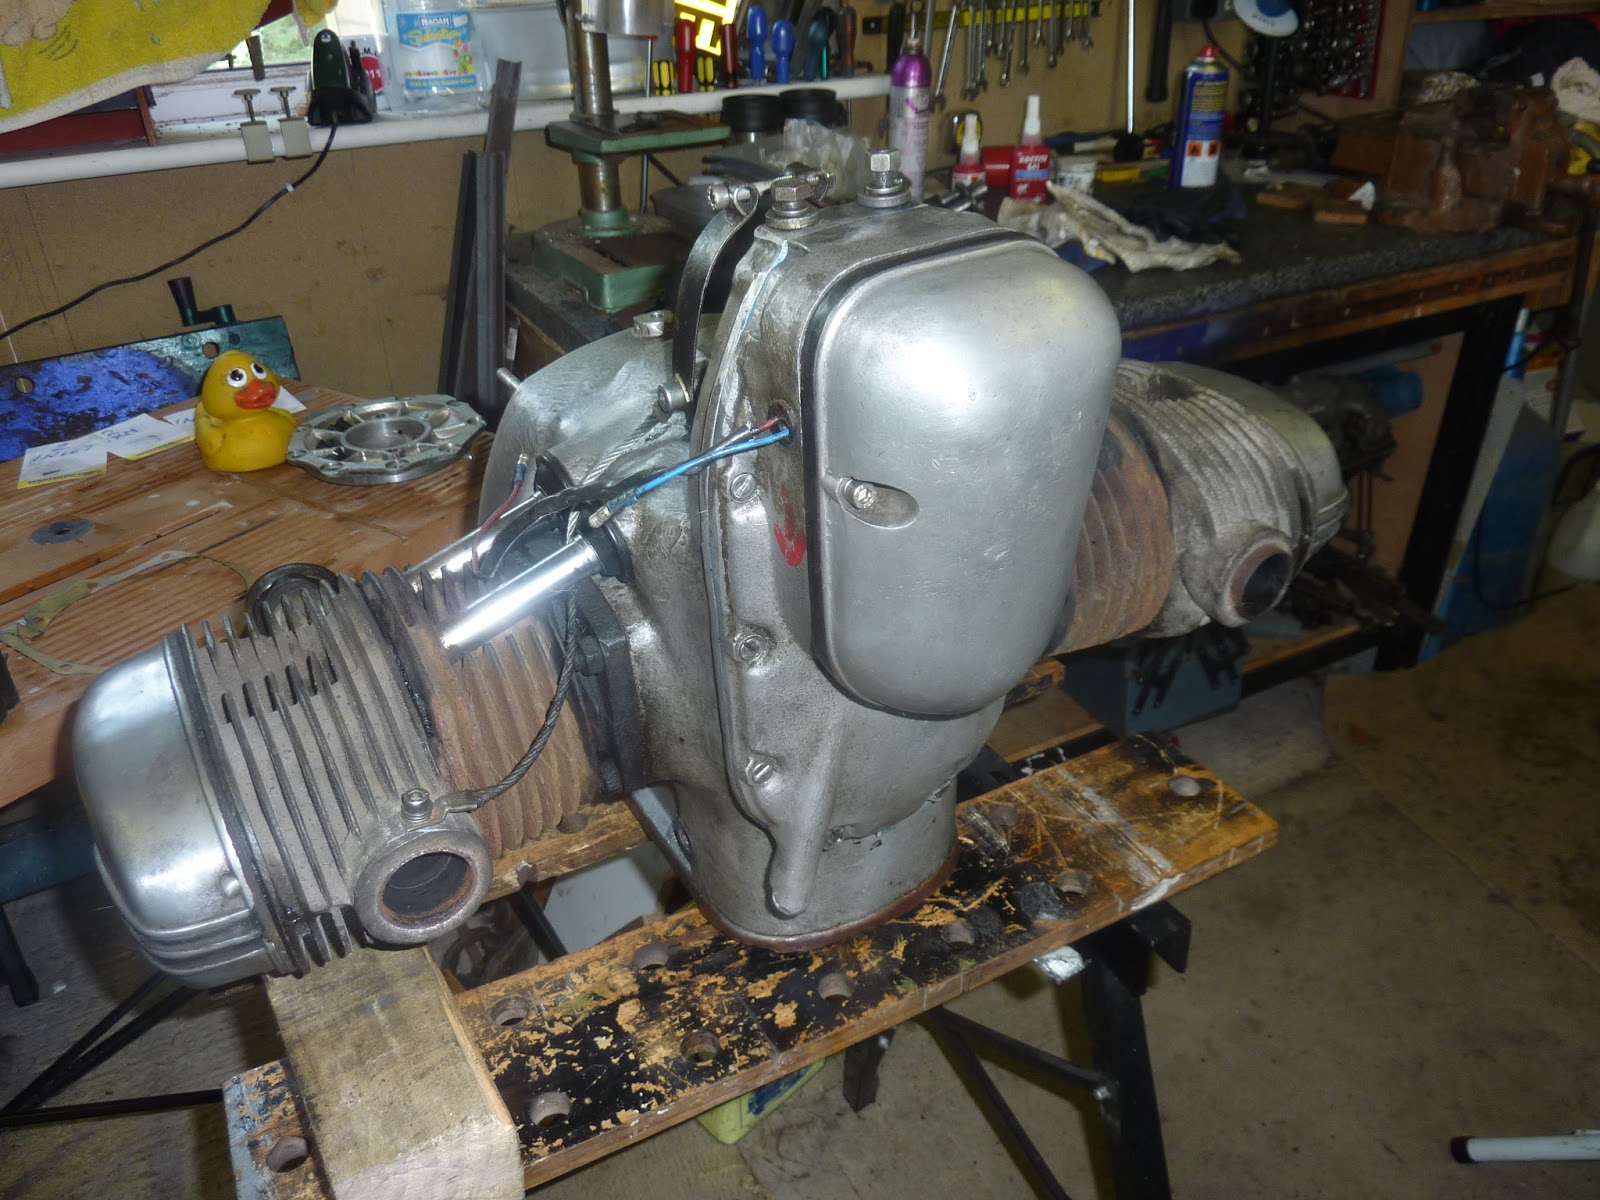
As the sharp-eyed will notice, Boris runs a Ural M63 (early '70s) engine coupled to a Dnepr gearbox and Dnepr everything else. The likelihood of the oil leak coming from the crank oil seal seemed obvious, but I checked with Peter Ballard, Ural Guru, and he confirmed my suspicions. So, as I had got to the stage where I was reluctant to take Boris out because I knew he would wet himself every time I stopped, I decided it was time to fix it.
As is my wont, I took many, many photographs from every angle - just in case... One of my concerns was the header pipes - they looked well attached with corrosion, and I reckoned might cause trouble. As it happened, they wiggled out easily.

So - in deeper, then.

Here is the offending oil seal, a 50x70x10

and the proof of the leak on the clutch plates. And yet, the clutch wasn't slipping, despite the enormous horsepower passing through it.

But more trouble was in store. When a mate came round, he got hold of the flywheel, and managed to pull it back and forth. Crank end float - 1.3millimetres of it. Another email to Peter Ballard, and he confirmed it shouldn't be floating like that. Bugger, The odd thing as that despite the float, there was no discernible lateral play at all. The crank was moving within the bearing, and the bearing was moving within the crank, but both had so little clearance, no amount of playing with it could cause either of us to be able to detect any side-to-side movement at all. Odd. The only thing to do was look deeper. I decided to take the front off too.

Aha, electronic ignition!

Nothing technical in here!

Timing marks are obvious.

Now, to take this little lot out, start at the cylinder heads.
Rocker assemblies are off within 8 nuts, and the pushrods pull straight out. Labelled and put on the bench so that they can go back in the same order. Turn the crank over to push the tappets out of the way. Take off the generator, and then the two screws on the plate holding the camshaft, and draw out the camshaft complete with its sprocket.


And then I discovered the reason for the end float. The timing gear on the front of the crank wasn't fully on. A three leg puller got it off, it went into the oven for an hour, and then back on the crank. It went on easily enough, and when cooled, before even bolting it down, the end play had disappeared. I reckon that whoever had previously put it on, had drifted it on cold, and not managed to get it all the way on the taper - stinking hot made it big enough to almost drop on - an easy fix! Or so I hope....

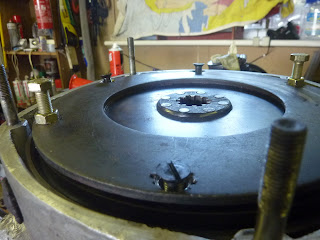
In order to stop the rear main bearing from moving about, a bit of Loctite seemed in order. Removing the bearing plate takes a homemade puller, two 3/8 cycle thread bolts and nuts and a bit of bar. a socket as a spacer behind it pulled the plate off easily.

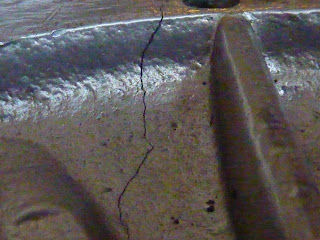
Out came the bearing plate so I can fix the bearing in, and then I put the bearing plate back in. It was a slightly tight fit, so I set to, with a bit of gentle, judicious tapping with a rubber mallet on the webs of the plate. Then I noticed a line on the plate.


A crack, all the way through the plate, where the oil feed is. If I had been leathering it into place, fair enough. But I've stubbed my toe with more energy than I was applying to the plate, and yet it was utterly ruined. 'Oh, fiddlesticks,' said I.
The joy of Ebay, and a new plate for 34 Euros from Ukraine. At least I can get one, and it isn't a bank-breaker. The downside was three weeks waiting for it to be delivered. In those three weeks do you know what the weather was like here? Glorious bloody sunshine for nineteen of the twenty one days. In England. Damned near a record. And there's me - no Dnepr to ride. Still - could be worse.
At least it gave me time to give Boris a bit if a wipe down with an oily cloth. Not cleaning, you understand. That's not allowed. I've got bikes in the garage I like to keep clean - this isn't one of them. As they say - you can't polish a turd, (but you can varnish it!). Of course, I could have put the three weeks to good use, checking all the components I had were correct, checking I had the tools to finish the job, things like that, but where's the fun in being prepared? Little did I know, this attitude was brushing its teeth and preparing to bite me on the arse.
I put the main bearing in the freezer, so it would drop into the new bearing plate when it finally arrived. I planned to drop the bearing in, then put the plate in the freezer so it would drop into the crankcase mouth without me having to slap it with a mallet and break it again. Seemed like a plan to me.
New plate ! Woohoo!

Complete with paper gasket, oil seal (the original offending article and reason for strip down) and main bearing. Bargain. Except the bearing is a scratchy, nasty piece of work with nary a hint of even assembly grease. Seeing as how I've got a good SKF bearing, I decided to use that instead anyway. So I drifted out the nasty bearing,, and the nasty oil seal - after all, I had a double-lipped, Viton seal to put in!
Unfortunately...

WRONG BLOODY SIZE !
Not the end of the world - a new one was duly purchased. How on earth I bought the wrong one, I don't know. But I am an idiot, so there's a clue.
With the new seal, and the plate out of the freezer, it was time to offer the bearing plate to the crankcase. A very gentle push and it was in the case - in one piece! Result. The new oil seal went in easily.
Nearly there.
All I have to do now is check I've got the timing right ( easy job) after putting the rockers back on and camshaft in, step by step how it came The clutch was next. And then I found my next problem. To tension the clutch springs enough to fit the clutch screws I needed 2 long M8 set screws and matching nuts, with, and here's the rub, 1mm thread. Have I got 2 of those? Nope. Not even one. So, Ebay again, and another couple of days delay. Ho hum. At least the sun is still shining!
A cheap flywheel holder for tightening centre nut.

Rockers back on

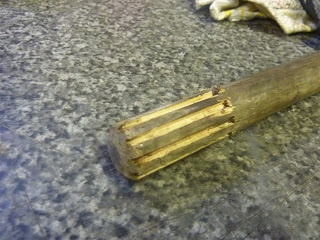
A homemade clutch alignment tool. One old shouldered bolt (or a washer trapped between bolt head and nut) and a Dremel


And then I read about the broom handle approach. Much easier.


Clutch compressing bolts are M8, fine (1mm thread), and 50mm long in this instance, though length isn't the most important thing


The new screws were peened over as well as thread-bonded

Gearbox on


and then refitted to the frame.
I fitted a new drive donut at the same time. A shakedown ride around the village showed a bad vibration - turns out the new donut is no where near round and hits the clutch arm, so the old one went back on. Tappet adjustment checked, the exhaust on both sides, and the inlet on pot 2 were all a bit thin, so I re-gapped them. Forty miles yesterday, all's well, job done. I'll recheck the tappets next time I'm in the garage to see if they've settled any further.
For me the model does not matter here because i\'m interested in the procedure for removing and replacement the actual seal. The seals are essentially the same for all engines and that i already skills to get to its location.
ReplyDeleteThanks
Henry Jordan
Hydraulic Seal Kits
It's the old 'screwdriver behind and lever it out' trick that worked for me
ReplyDeleteGood job!
ReplyDeleteThe seals are essentially the same for all engines and that i already skills to get to its location. oil seal
ReplyDeletepretty well done.my 2015 gear up has puked all of its seals in just 35,000km. this repair will get m all redone. soon as the weather changes, till then adding oil.
ReplyDelete